Back to Cattail.Nu
Portable Artist Supply Box
I built an artist supply box because I couldn't find one that met my
requirements.
Requirements:
- Super light, portable
- Small
- Lid works as drawing board
- Fit pens, pencils, kneaded eraser, mars plastic eraser, sharpener,
watercolors, water, paint brush, paper, watercolor mixing board
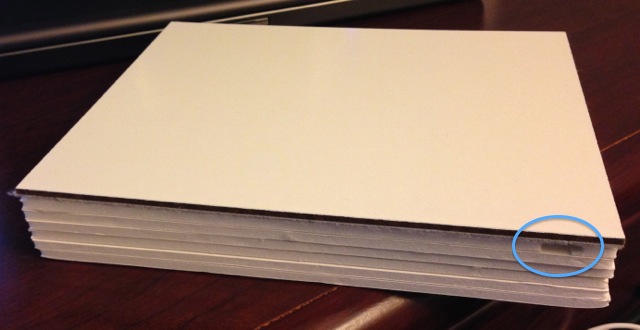
Closed, finger-opening cutout visible.
Underside of lid (gessoed art board).

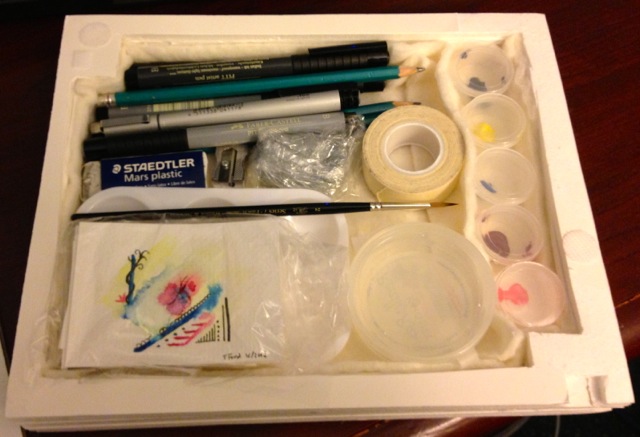
Packing material removed.
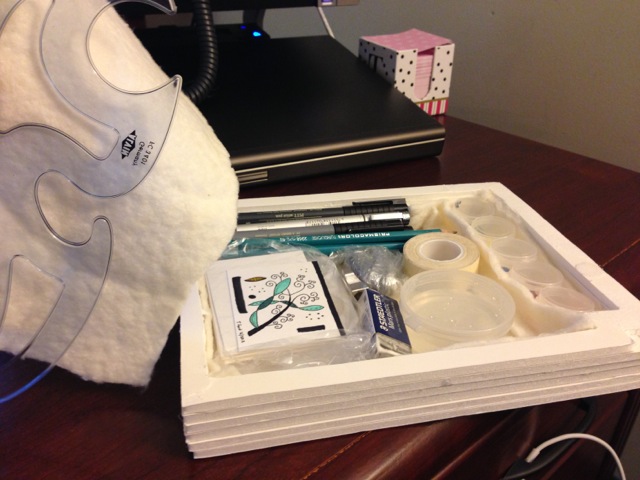
Inside, velcro tabs visible.
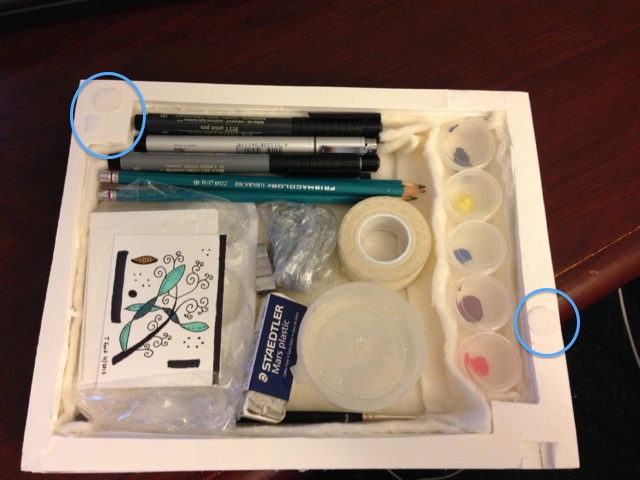
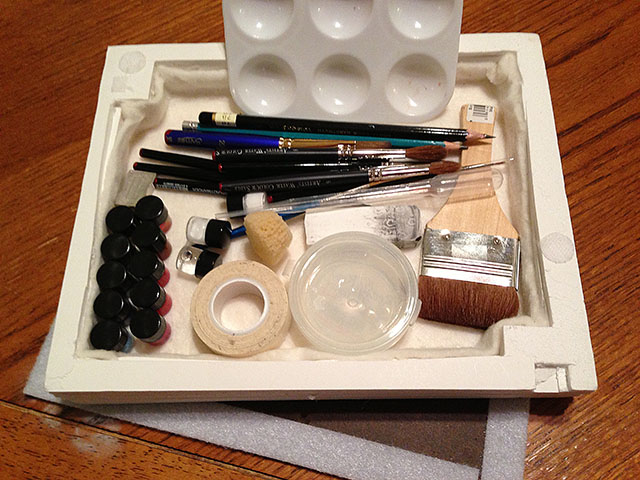
Paint buckets are attached to each other with tape.

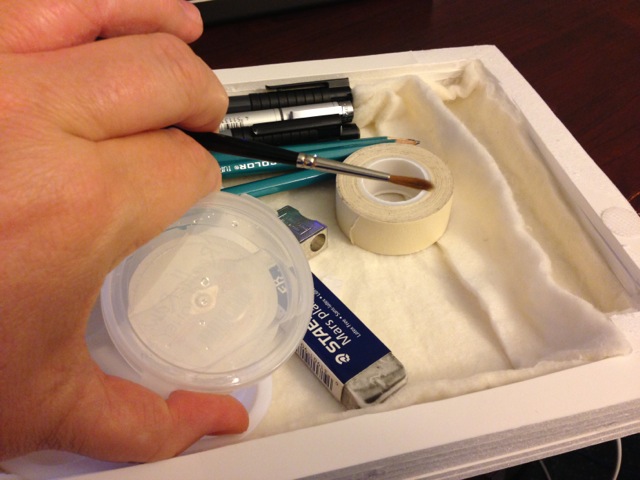
Recycled raw honey container holds water (also good for kneaded erasers)
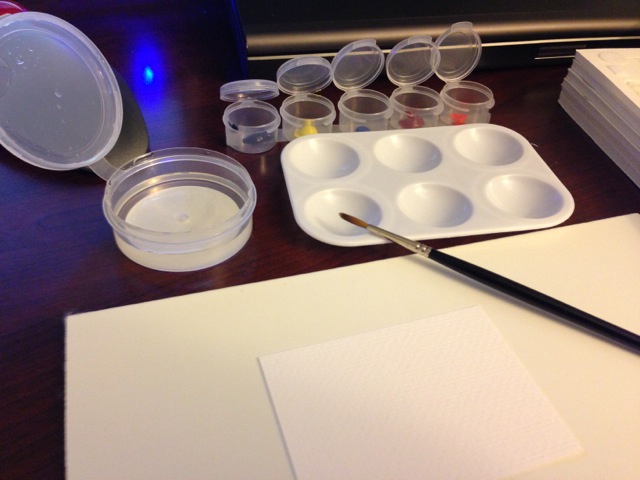
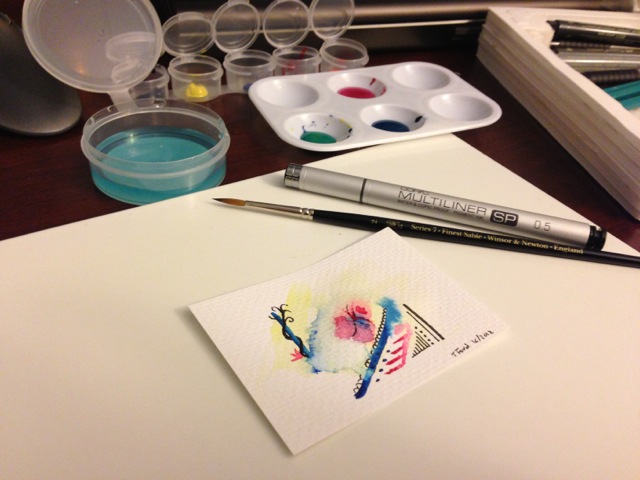
Temporary painting studio setup.
Finished mini-art.
Repacked.
Swapped in tiny glass vials for the plastic paint holders
Supplies:
- 1 8"x10" Gessoed art board
- 6 8"x10"x1/4" Foam boards
- Glue
- Sticky-back Velcro (36")
- Padding material (felt, cotton would do, I used thick interfacing)
Tools:
- Hot glue gun
- Exacto knife
- Scissors
Instructions:
- Cut out center of 5 of the foam boards. Leave 2 opposite corners big (1" square or so). This adds stability while minimizing weight. The walls should be 1/4"-1/2" wide.
- Stack and glue the foam board layers together.
- Stick soft side of velcro to the underside edges of the gessoed art board (per picture).
- Stick 2-4 very small pieces of the rough side of the velcro to the "box" to secure the gessoed art board lid.
- Line the box with the fabric.
- Cut out a bit of one of the "corner edges" to make a finger-place to easily remove the lid.
- Fill with supplies. Top with more loose material to keep supplies from shifting around.
Back to Cattail.Nu